
How To Do a Roof Inspection Using a Drone – A Comprehensive Guide
Last Updated on September 12, 2023 by Matt Gardner
If you manage or work on construction projects, then you know that one of the most important (and potentially dangerous) aspects of the job is doing a thorough roof inspection.
Roofs can be inspected manually, but this is often time-consuming and dangerous. That’s where drones come in.
Drones can help you quickly and safely assess the condition of a roof, making them an essential tool for any construction manager or worker.
In this blog post, we’ll show you how to use a drone to do a roof inspection.
We’ll cover everything from choosing the right drone to safety tips and tricks. So if you’re ready to learn more about how drones can help with your construction projects, read on!
Why you should do a roof inspection with a drone
The roof of a structure is an essential part of it that needs to be inspected regularly, and what better way than with a drone?
Drones can access hard-to-reach locations safely for roof inspections to be conducted.
They can fly high up to check for damage, leaks, or other issues that need attention. In addition, having a drone allows you to inspect your roof from various angles.
This helps you have peace of mind knowing that nothing has been missed in the inspection process. Using a drone also eliminates any risks typically associated with traditional roof inspections, such as height-related hazards.
If you’re looking to get an accurate and thorough inspection of your roof without exposing yourself to danger then a roof inspection with a drone is the way to go!
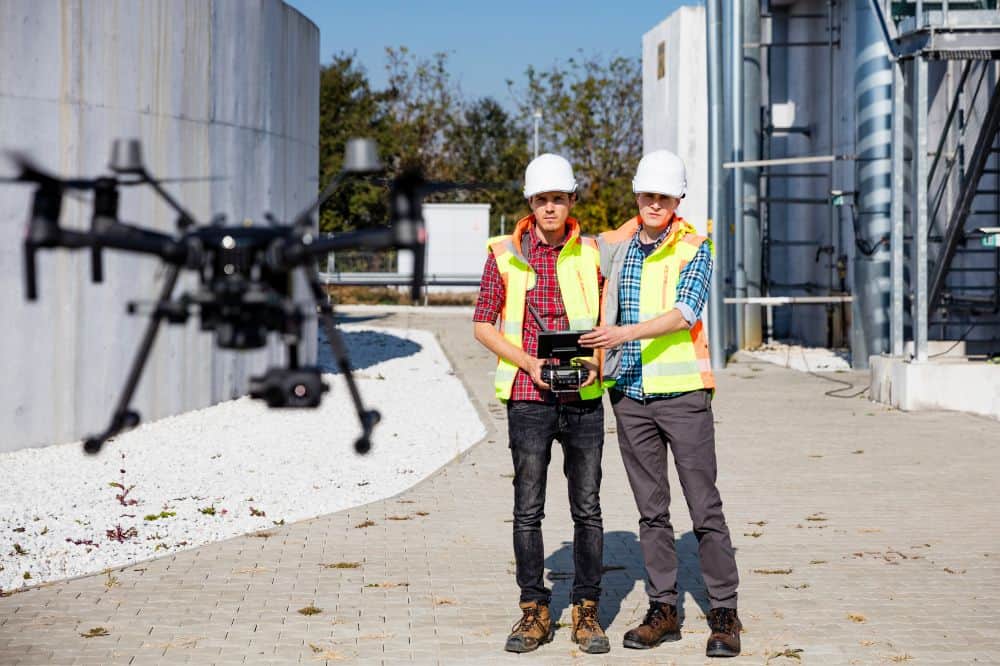
What do I need to get started for doing a roof inspection with a drone
If you’re looking to get into drone roof inspection, there’s some essential gear that you need to get started.
First off, you’ll need a drone of course one that has the right specs to do the job safely and accurately.
You’ll also need an FAA license if the roof you’re inspecting is above 400 feet, and any other permits required depending on your location.
Then when it comes time to inspect the roof, you’ll need a minimum of 16-megapixel cameras with geotagging capabilities as well as special software to analyze potential problems and help you manage your projects.

How to do a roof inspection with a drone
Inspecting a roof with a drone is not only an efficient way to take a look at your roof surface but can save you time and money.
Before you get started on your first drone roof inspections, there are some key things to consider.
Be sure to know the airspace regulations for drones, making sure that flying over people is not permitted.
Next, always make sure to choose an ideal day for your flight – ideally days where the weather is clear and the wind is low for better control of your drone.
Finally, ensure that your working area is secure by launching from an open rooftop or other open space away from trees or walls.
With a bit of preparation and these handy tips, you’re now ready to set up your drone for the perfect first inspection!
What to look for while you’re inspecting the roof with a drone
When using a drone to inspect your roof, there are some key factors to look out for. One important sign of damage is missing or damaged roofing materials or shingles.
If a significant number of shingles on the roof are either missing or worn, then it’s time to get the roof fixed.
Water stains related to leaking are also signs that you should be aware of. These stains usually appear around chimneys, vents, and any other areas where water has found its way into the house.
Any gaps in flashing can cause major issues and should be identified during the inspection as well—flashing helps protect your roof from water and should remain intact for it to do its job properly.
A final tip is to make sure you get at least three angles of your entire roof when inspecting it with a drone.
This gives you a full overview so you don’t miss anything that may seem small from one particular angle but could be more serious than it initially appears.
How to download and save your roof inspection footage
Downloading and saving your drone roof inspection footage is easier than you might think! All you need to do is have a copy of the file on your computer or in the cloud.
Once your camera or drone has captured the footage, simply access the file from its location and save it to your desktop or another device.
You can even download it directly from your software application if that’s what you prefer. Storing the video safely will ensure it is readily available for future use.
Showcase all of your best drone roof inspections by downloading, saving, and sharing the footage with colleagues, friends, and family.
With just a few steps, you’ll have saved all of your most impressive roofing inspections!
How to report on the roof inspection or any damage on your roof
After you have completed your roof inspection with a drone roof inspection and identified any damage, it’s important to report the findings promptly.
A professional report should include a detailed description of any damage found, along with photos of roof defects and videos for visual evidence..
It should also include any recommended repairs or replacements and notes on any safety considerations.
Depending on the severity of the damage, it might be best to consult a roofing specialist or other professional for their advice.
Once your report is complete, you can share it with the relevant parties and allow any necessary repairs to occur as quickly as possible.
With a comprehensive roof inspection report in hand, you’ll be able to make informed decisions about the best course of action for your roof.
Compare Regular Roof Inspection to a Drone Inspection
Comparing regular roof inspections to a drone roof inspection shows the power of using drones for this purpose.
A regular roof inspection requires a person to climb up onto the roof, which can be dangerous and time-consuming.
Drones allow you to inspect quickly and easily from the ground. They can also get up close and personal with areas of interest, such as being able to take pictures from multiple angles or fly directly into tight spaces.
Drones also provide a unique aerial perspective that can let you see things up top that you wouldn’t be able to see from the ground.
Overall, drone roof inspections are fast and efficient, helping you to quickly identify any issues with your roof before they become serious and costly.
As with anything, safety is still paramount when performing drone inspections. So be sure to follow all local regulations and take necessary precautions to ensure that everyone remains safe during the process.
Summary
All in all, drone roof inspections can be quite helpful for identifying potential problems and performing an overall check-up of your roof.
With some preparation and the right information, you’ll be able to execute your flying inspections with greater ease.
Whether there is exposure or other damage to the interior surface of your roof, you’ll be able to get a better picture than without one and find the best possible solutions to repair it.
With drones becoming better every day and more economical, there’s no excuse not to equip yourself with one if you want to stay ahead in taking care of your home or project building.
If you’ve thought through these steps carefully, then you’ll feel much more comfortable knowing that you’ve done everything within your power to ensure that your roof is in its fullest working condition.